
Installation & Instructions
Installation Tutorial:
Step by step guide of how to install Electrobond.
Unboxing:
Unbox and check the contents:
- 1 x Electrobond Base
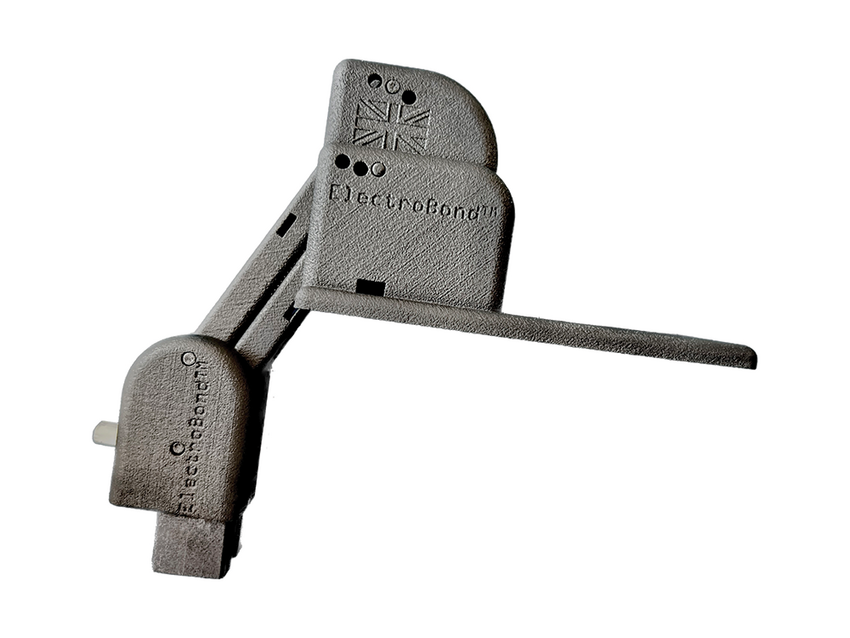
- 1 x Assembled Arms with Brush-Head
- 1 x Envelope with pins
- 1 x Card with QR Code for Installation and Warranty Registration
Installation:
1. Identify Propulsion Setup:
- 1.1 Common Setup – Engine > Gearbox > Prop-Shaft > Seal > Propeller
- 1.2 Limited Space – Sailing Yacht / Jet-Drive / Arnesen Drive, etc.
- 1.3 V-Drive & 360 Drive, etc.
2. Locate Fixing Point for Electrobond:
- 2.1 Seal / Stern Gland
- 2.2 Seal / Bottoms Up / Side, etc.
- 2.3 Bulkhead, etc.
3. Connect the Cable:
- Attach the cable from the anode to the brush-head of Electrobond.
4. Secure Initial Cable Position:
- Secure the cable loosely initially. Do not tighten.
5. Secure Electrobond Base:
- Attach Electrobond Base to the desired location using the 1st hole of the base.
6. Ensure Brush-Head Alignment:
- Make sure the Brush-Head is level with the shaft.
7. Secure the Rest of the Base:
- Use cable ties to secure the remaining portion of the base.
- For Transverse Engine Setup, secure the base to the Bulkhead.
8. Trim Cable Ties:
- Trim any excess cable ties for a neat installation.
9. Clean Contact Area:
- Clean or use sandpaper to prepare the contact area around the prop-shaft for optimal performance.
- Follow these installation steps carefully to ensure the effective installation of Electrobond and the protection of your marine vessel against corrosion.